Auto-generating API service using Rust, to TypeScript & Dart
No body got time for errors

Prerequisites
- Knowledge of full stack development
- Rust installed
- NodeJS and NPM setup
- Dart/Flutter setup
- Mac/Linux or are using Windows WSL
The Problem
When working in teams across APIs it's important that objects, types and classes are accurate between the client and the services.
The amount of bugs I've seen from Rest API calls with improper types, missing properties and much more is astonishing.
We looked into several technologies, GraphQL, tRPC, Rust Type Convert, gRPC, and others to determine which suited our needs. Unfortunately they were missing some important feature for automatic client conversion, such as missing error types, missing return types, everything being optional (GraphQL..)
After trying many different APIs, we stumbled upon Salvo, for Rust.
With Salvo you can automatically generate an entire Swagger schema automatically, with the returns types, error enums and more much included.
You don't have to do any manual work, like manually specify the OpenAPI properties. It will convert structs to specs.
In this tutorial; I will make a basic autogen project. This project generates the API services from the Rust backend to TypeScript and Dart clients. You can find a full version of the project Github link to demo project. In the end you will have a simple script to fully generate API services from your Rust backend.
Let's begin
First, make a project directory inside the terminal
mkdir ./my-auto-gen-project
cd my-auto-gen-project
The Rust Project with Salvo
Create our Rust project
				cargo new my_api
cd my_api
// Open in VSC code (optional)
code .
Add the following to Cargo.toml
[dependencies]
salvo = { version = "*", features = ["oapi", "cors"] }
tokio = { version = "1", features = ["macros"] }
tracing = "0.1.40"
tracing-subscriber = "0.3"
Open src/main.rs and add the following, this will setup our API and our UI
use salvo::cors::Cors;
use salvo::hyper::Method;
use salvo::oapi::extract::*;
use salvo::prelude::*;

#[endpoint]
async fn hello(name: QueryParam<String, false>) -> String {
    format!("Hello, {}!", name.as_deref().unwrap_or("World"))
}

#[tokio::main]
async fn main() {
    tracing_subscriber::fmt().init();

    let router = Router::new().push(Router::with_path("hello").get(hello));

    let doc = OpenApi::new("test api", "0.0.1").merge_router(&router);

    // Allow requests from origin
    let cors = Cors::new()
        .allow_origin("*")
        .allow_methods(vec![Method::GET, Method::POST, Method::DELETE])
        .into_handler();

    let router = router
        .push(doc.into_router("/api-doc/openapi.json"))
        .push(SwaggerUi::new("/api-doc/openapi.json").into_router("ui"))
        .hoop(cors);

    let acceptor = TcpListener::new("127.0.0.1:5800").bind().await;
    Server::new(acceptor).serve(router).await;
}
Now open the terminal inside your editor and write
cargo runYou should be able to visit http://127.0.0.1:5800/ui/
You'll be presented with the Swagger UI
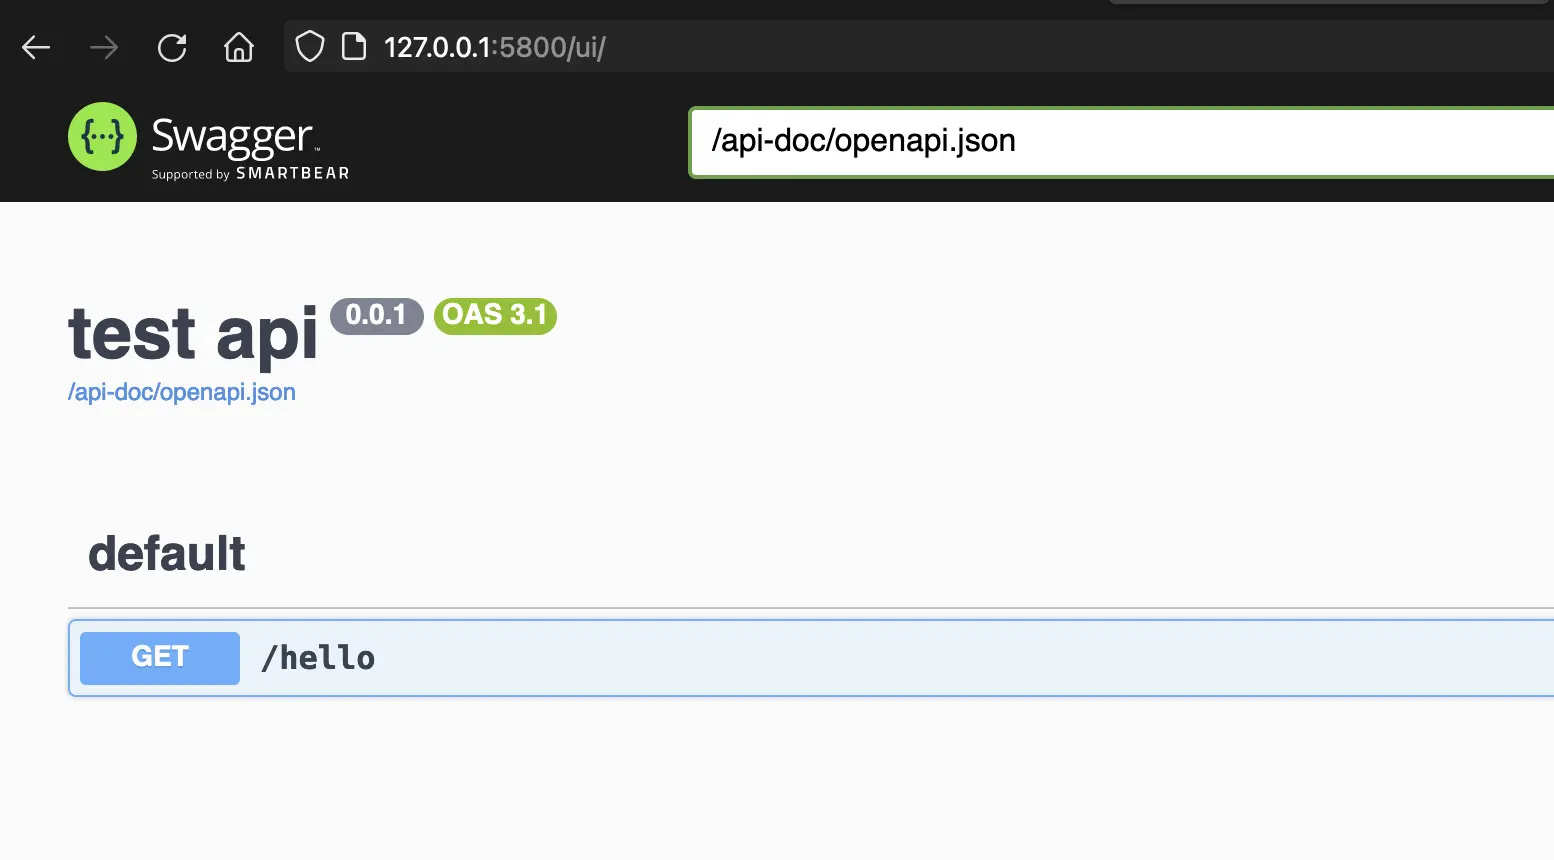
Our endpoints are automatically generated thanks to Salvo
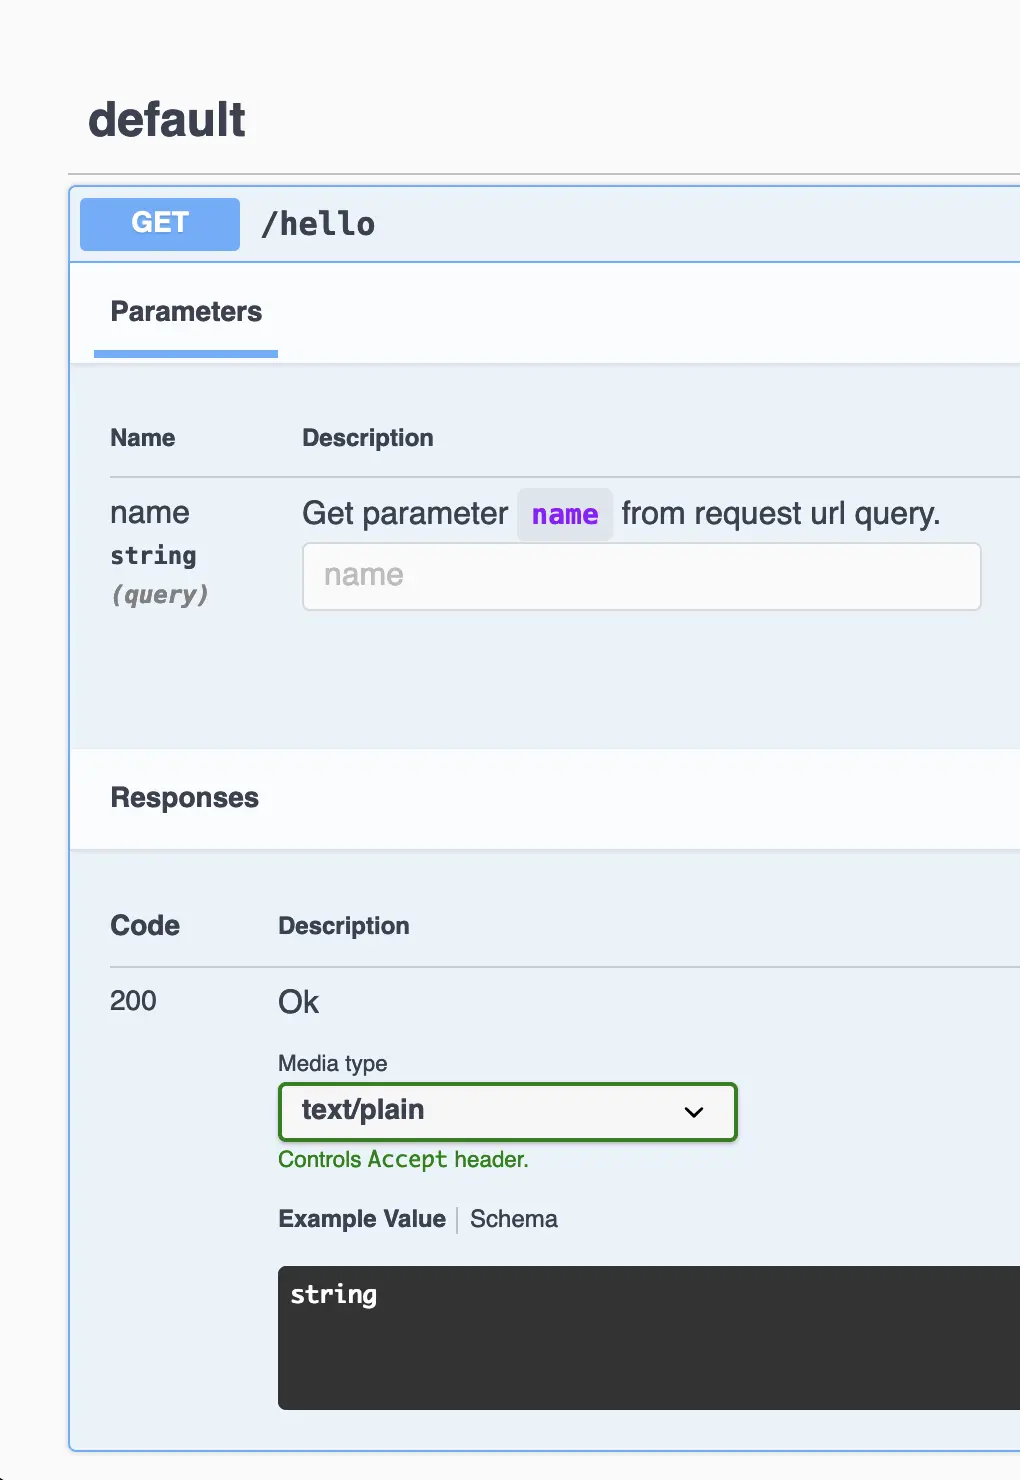
As you can see our API, documentation and playground is fully generated from this small bit of code, which is amazing.
Now if we tap the link under the title on this page /api-doc/openapi.json we will get the Swagger spec.
It looks like this
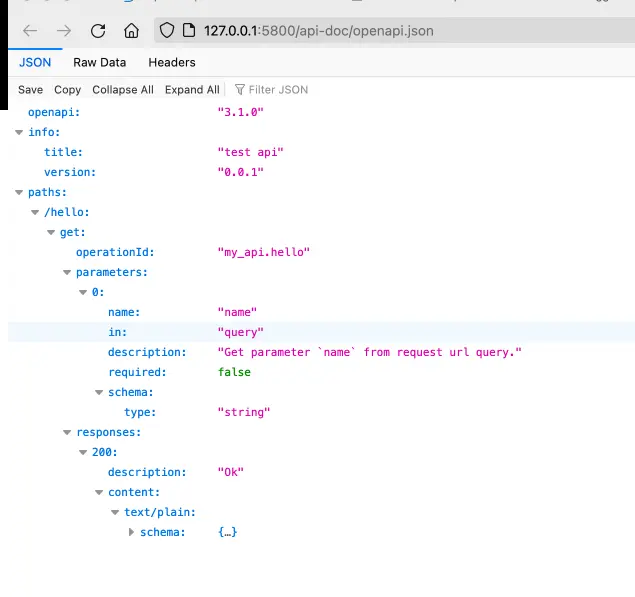
We will use this as a basis for our TypeScript and Dart (Flutter) projects to generate our APIs automatically.
The Typescript project
Now that we have out basic API setup, and swagger docs working, let’s generate the frontend clients, starting with TypeScript.
For a dummy framework we're going to use SvelteKit, since we feel it’s the shortest amount of work. It really doesn't matter which framework you use, React, Vue, etc, they all will work as we are generating an API service that can be used on any TypeScript project (SSR might have some modifications)
Generate the Svelte-kit project
// Svelte project
npm create svelte@latest web-frontend
(select SvelteKit demo app, Typescript, ESLint)

cd web-frontend
npm install

// Optional, we're opening in our editor VSC
code .

// Check that the project runs
npm run dev

// Open in the browser
http://localhost:5173/
You should see a SvelteKit example project.

Now, time to generate that juicy API!
Open package.json inside the Svelte Project.
We will add the following “script” line, and call it “gen-api”
// You can define different types, of requesters, for example typescript-[client|axios|fetch]
npx @openapitools/openapi-generator-cli generate -i http://127.0.0.1:5800/api-doc/openapi.json -g typescript-fetch -o ./src/api/
There are additional options, like the base path, etc. It should look like this:
"scripts": {
		"dev": "vite dev",
		"build": "vite build",
	    "gen-api": "npx @openapitools/openapi-generator-cli generate -i http://127.0.0.1:5800/api-doc/openapi.json -g typescript-fetch -o ./src/api/",
		"preview": "vite preview",
		"check": "svelte-kit sync && svelte-check --tsconfig ./tsconfig.json",
		"check:watch": "svelte-kit sync && svelte-check --tsconfig ./tsconfig.json --watch"
	},
Now if we want to generate our API we just run
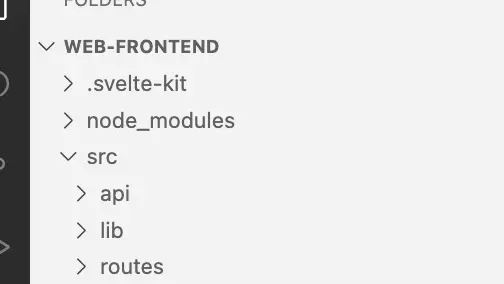
npm run gen-api You should see the api pop up under SRC
Let's add the API to a page, and test it.
Go to src/routes/+page.svelte
Change the page code to look like this
<script>
import { Configuration, DefaultApi } from "../api";
import { onMount } from "svelte";

let test = "this is a test";

onMount(async () => {
	console.log("onMount");

	const config = new Configuration({
	basePath: "http://localhost:5800",
	});

	const api = new DefaultApi(config);

	test = await api.myApiHello({ name: "Olly" });
});
</script>

<svelte:head>
<title>Home</title>
<meta name="description" content="Svelte demo app" />
</svelte:head>

<section>
<h1>
	{test}
</h1>
</section>

<style>
section {
	display: flex;
	flex-direction: column;
	justify-content: center;
	align-items: center;
	flex: 0.6;
}

h1 {
	width: 100%;
}
</style>
You should see (given that API is running and frontend is running)
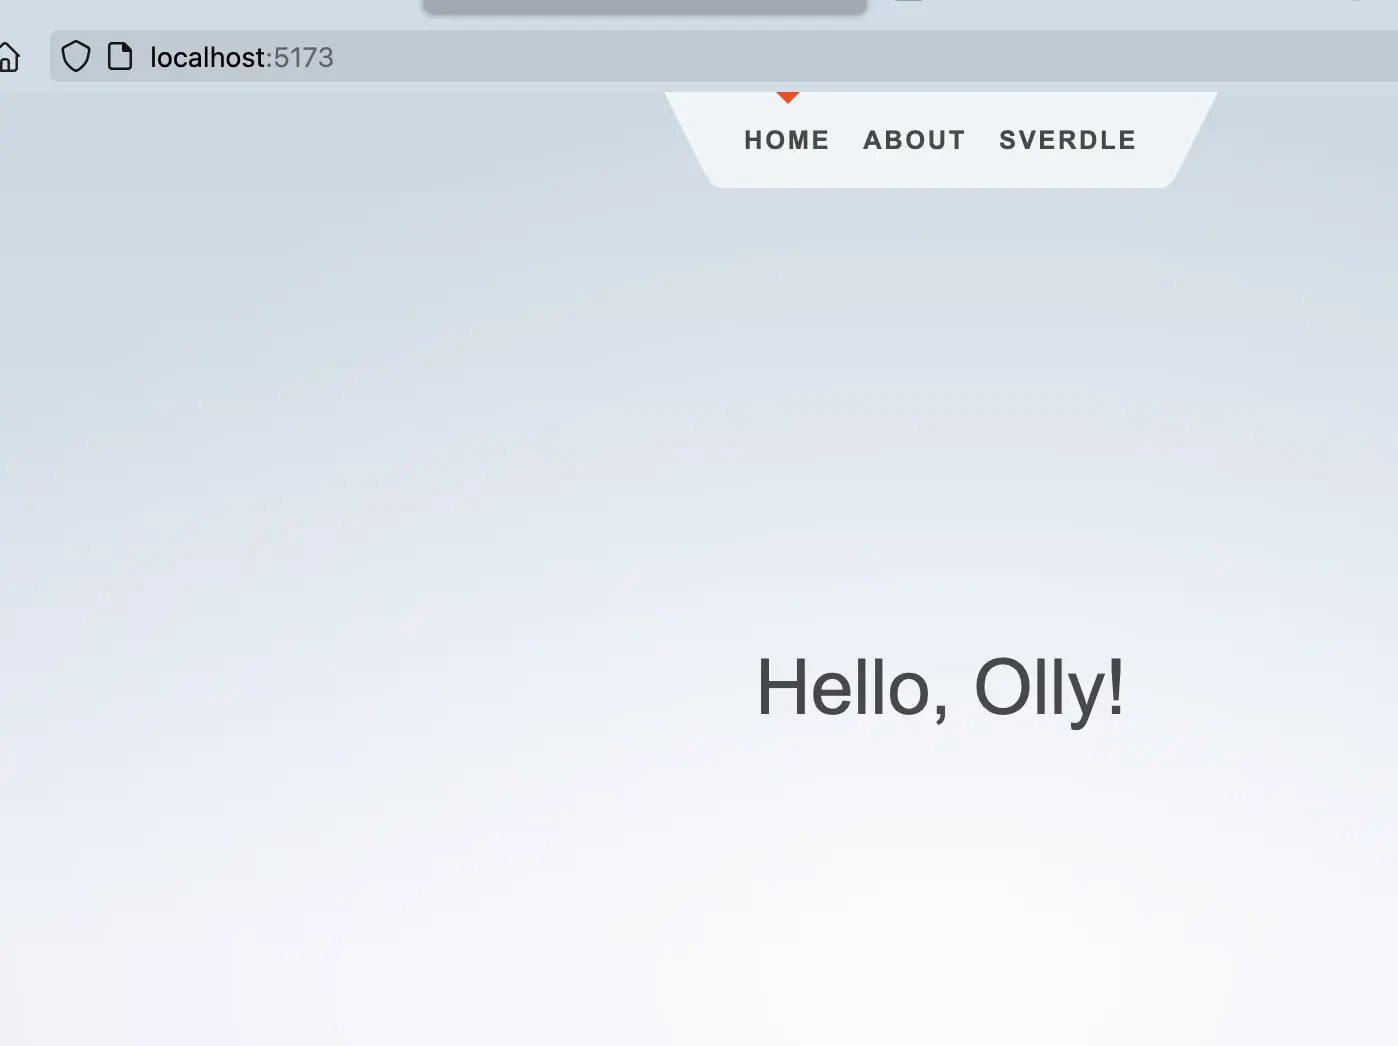
Here we are using the auto-generated TypeScript API. It even comes with auto-complete, parameters, error types and input/output.
This really is a great to any frontend developers looking to fully automate their API services.
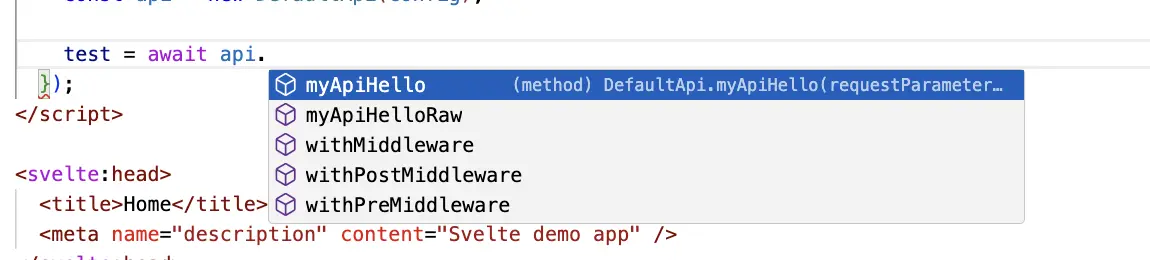
I know now that my API is 100% accurate, no more writing manual services for teams, easy updates and much more.
Now the Flutter app and Dart code
This will also work with Dart backend for your external services.
We tried a few dart auto-gen tools, unfortunately many of them were broken or missed key parts of the API out (like return types!)
Finally we used one called “swagger_dart_code_generator”
It seems to fully work, meaning it generates types, enums, complex objects and much more. The official swagger cli was actually broken with complex objects, so we had to use this
Go to the root of our project again and generate the flutter app
flutter create mobile_app
cd mobile_app
// Optional opening the project
code .
Open the pubspec.yaml file
Make sure it looks like this
name: mobile_app
description: "My auto-gen project"

# pub.dev using 'flutter pub publish'. This is preferred for private packages.
publish_to: 'none' # Remove this line if you wish to publish to pub.dev

version: 1.0.0+1

environment:
	sdk: '>=3.2.3 <4.0.0'

dependencies:
	flutter:
	sdk: flutter
	chopper: ^7.0.10
	json_annotation: ^4.8.0
	swagger_dart_code_generator: ^2.14.2

	cupertino_icons: ^1.0.2

dev_dependencies:
	flutter_test:
	sdk: flutter
	build_runner: ^2.3.3
	chopper_generator: ^7.0.7
	json_serializable: ^6.6.1
	flutter_lints: ^3.0.1

flutter:
	uses-material-design: true
Create a build.yaml in the root of the mobile project, make sure it looks like below
targets:
$default:
	sources:
	- lib/**
	- open_api/**
	builders:
	swagger_dart_code_generator:
		# https://pub.dev/packages/swagger_dart_code_generator
		options:
		input_folder: "open_api/"
		output_folder: "lib/generated_api/"
		add_base_path_to_requests: true
		input_urls:
			- url: "http://127.0.0.1:5800/api-doc/openapi.json"
What this does it connect to the swagger spec, and generate the dart code.
Make a “open_api” folder in the root of the app project
Now run this with in the terminal
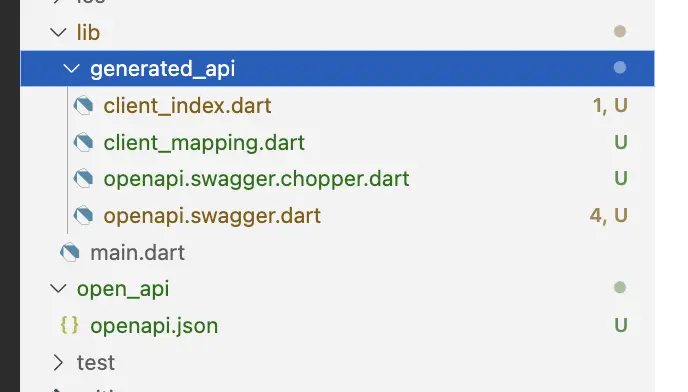
dart run build_runner buildTwo things should have happened
1. The openapi.json spec should have been downloaded
2. The generated API should have been created from it.
Now that this is setup, you can use the API just like the TypeScript project.
My go to main.dart
We are going to modify the default counter app. When you press the + button it will make a request and fill the text in.
import 'package:flutter/material.dart';
import 'package:mobile_app/generated_api/client_index.dart';

void main() {
	runApp(const MyApp());
}

class MyApp extends StatelessWidget {
	const MyApp({super.key});

	@override
	Widget build(BuildContext context) {
	return MaterialApp(
		title: 'Flutter Demo',
		theme: ThemeData(
		colorScheme: ColorScheme.fromSeed(seedColor: Colors.deepPurple),
		useMaterial3: true,
		),
		home: const MyHomePage(title: 'Flutter Demo Home Page'),
	);
	}
}

class MyHomePage extends StatefulWidget {
	const MyHomePage({super.key, required this.title});

	final String title;

	@override
	State<MyHomePage> createState() => _MyHomePageState();
}

class _MyHomePageState extends State<MyHomePage> {
	String _text = "";

	void _incrementCounter() {
	_test();
	}

	@override
	void initState() {
	super.initState();
	}

	_test() async {
	print("test");

	final Openapi api = Openapi.create(
		baseUrl: Uri.parse("http://localhost:5800"),
	);

	try {
		final data1 = await api.helloGet(name: "Olly");
		setState(() {
		_text = data1.body!; // << Is string, or can be complex object.
		});
	} catch (e) {
		print(e);
	}
	}

	@override
	Widget build(BuildContext context) {
	return Scaffold(
		appBar: AppBar(
		backgroundColor: Theme.of(context).colorScheme.inversePrimary,
		title: Text(widget.title),
		),
		body: Center(
		child: Column(
			mainAxisAlignment: MainAxisAlignment.center,
			children: <Widget>[
			Text(_text),
			],
		),
		),
		floatingActionButton: FloatingActionButton(
		onPressed: _incrementCounter,
		tooltip: 'Increment',
		child: const Icon(Icons.add),
		),
	);
	}
}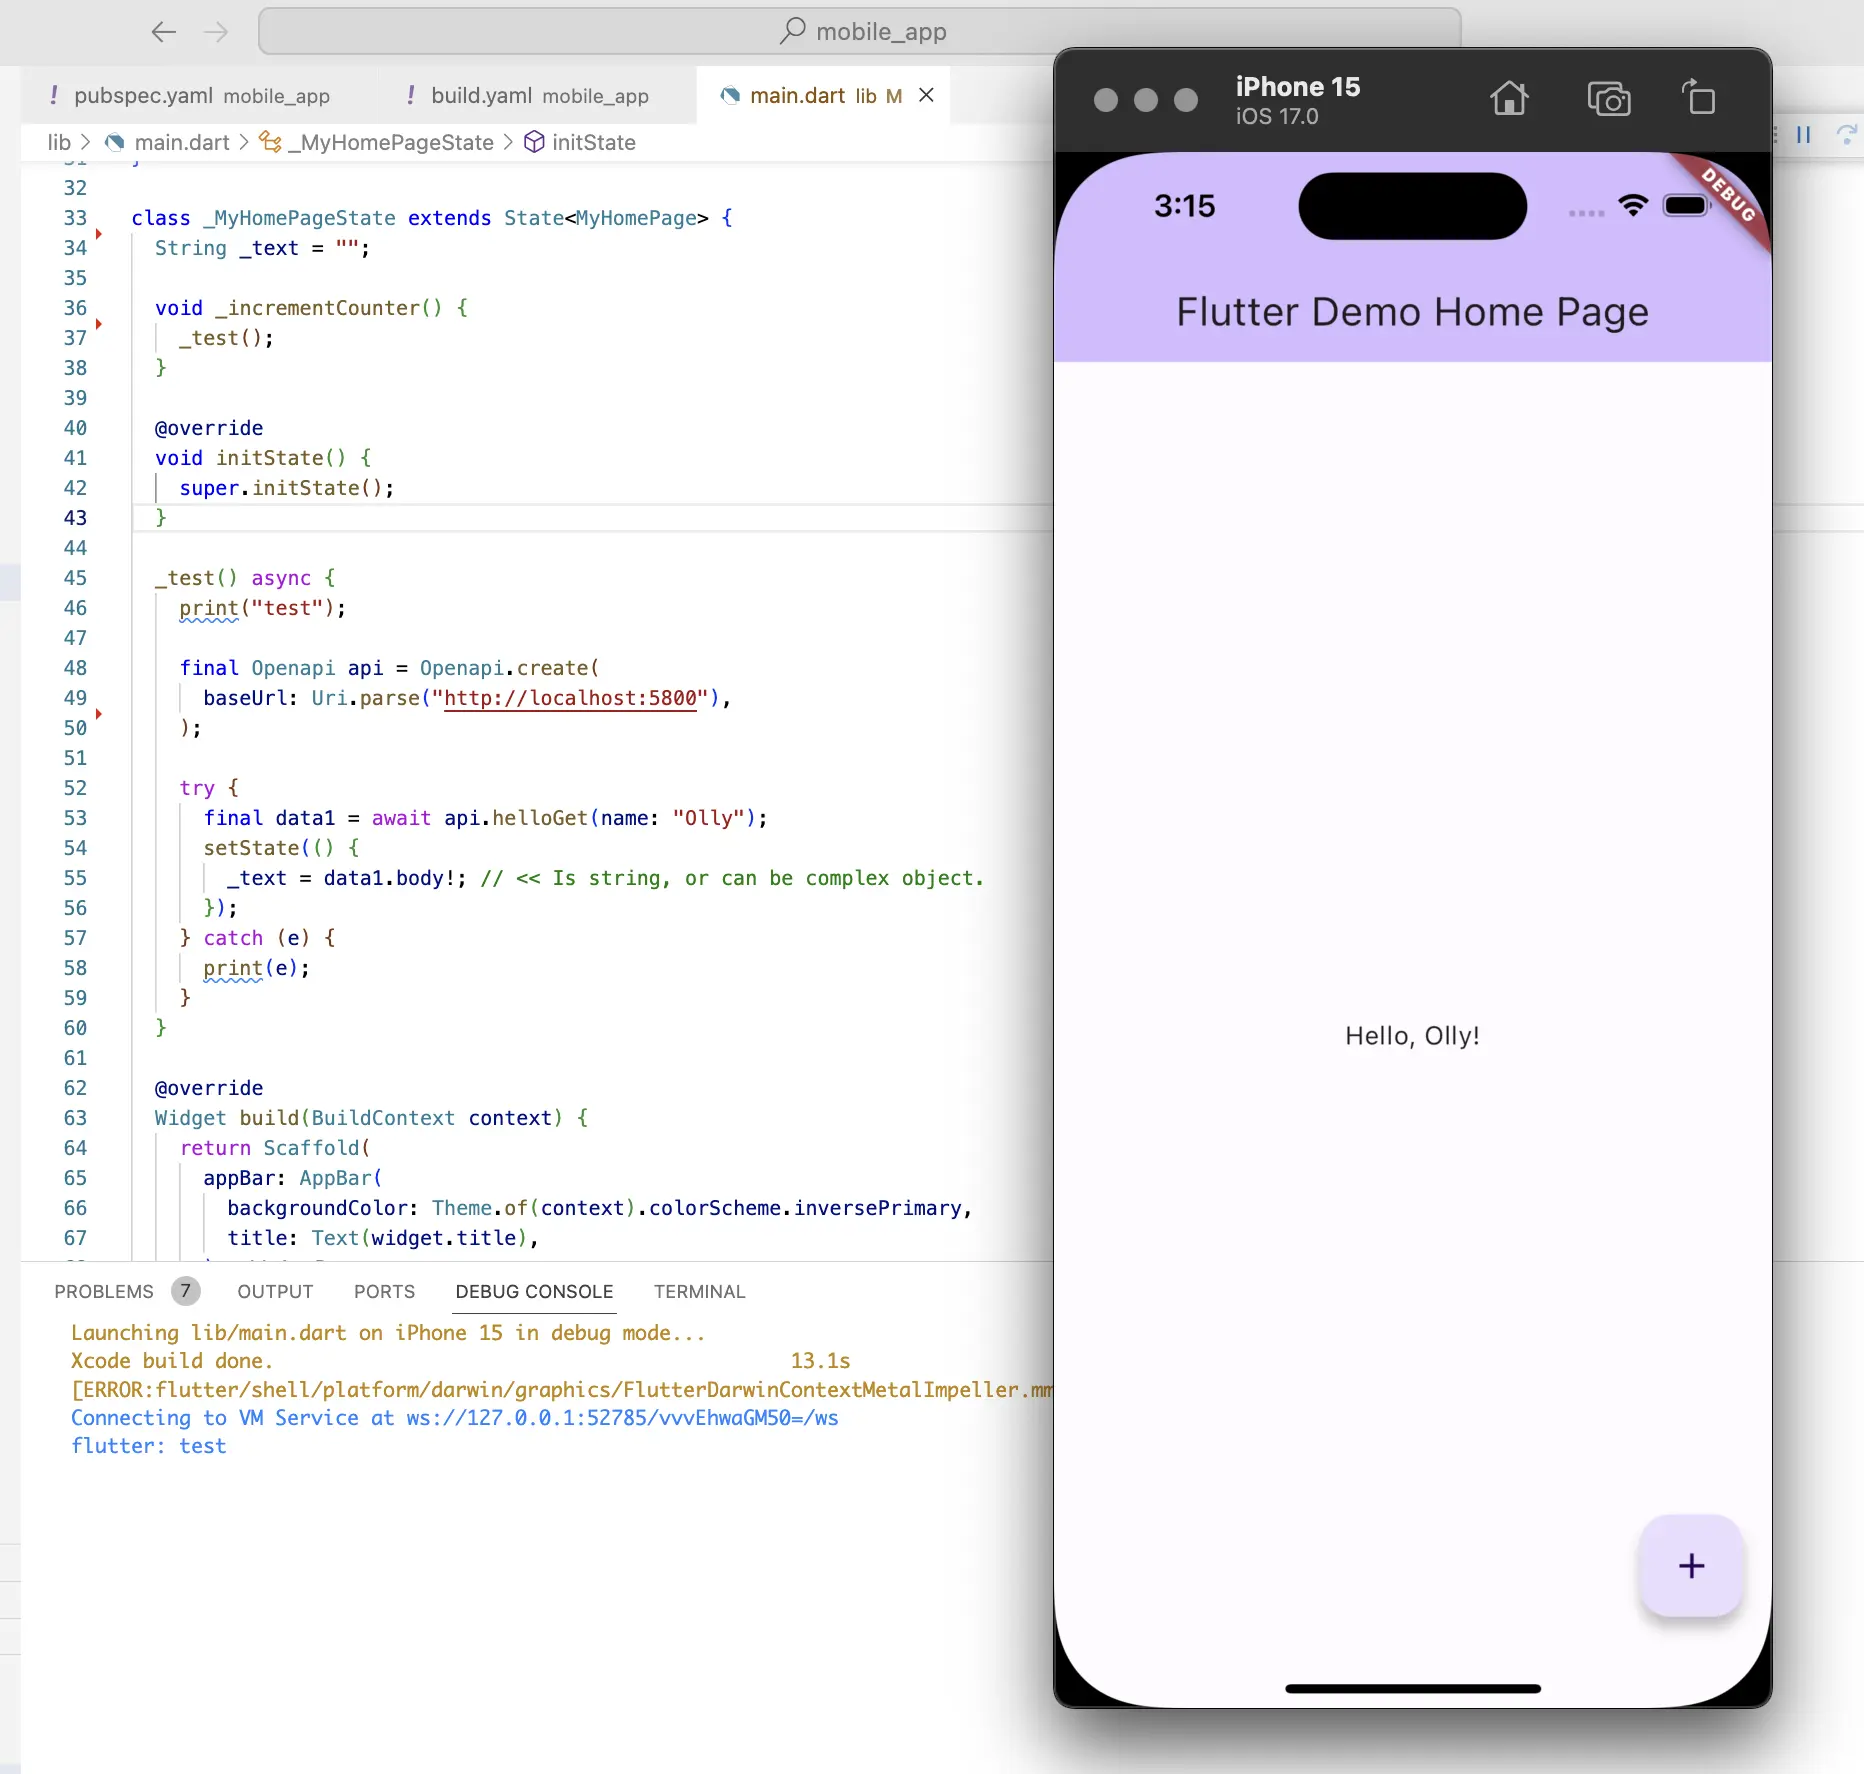
When you tap the plus button, it goes to the API, and back. You can even use complex types here. The Rust API will also support complex type returns, validation and much more. Our full version also supports error enums, and status code strings so the developer knows exactly what to handle.
Putting it all together
I have a full version of the project here, open to anyone: Github link to demo project
If you would like help setting this up, we're open to work at Polydelic AS, use the contact form below.

Call us
Click to call us directly